
Protecting an SQL database with a Cloudflare Tunnel is an essential security step to safeguard sensitive information from unauthorized access, reduce attack surface, and ensure secure connections.
It offers the following benefits:
- Eliminates the Open Network Exposure - Inbound requests to the SQL database no longer traverse openly on the internet or require exposure of ports; therefore, attackers have nothing to attack.
- End-to-End Encryption - Compliance with HIPAA, PCI DSS, and GDPR by protecting data in transit.
- Zero Trust Model - Rather than just allowing any traffic to the database within a network by default, users and services have to authenticate through Cloudflare before reaching the database. This means if one system is compromised, the rest won't have access, and this will prevent lateral movement.
- Granular Access Control - Logging, access control policies, and firewall rules help protect against sophisticated attacks.
- High Scalability - Easy to replicate across environments, and you can route traffic without exposing new public endpoints.
I will walk you through this LAB:
We will work with Rocky Linux's latest version (https://rockylinux.org/es-ES/download) for this lab and run the following commands to install the SQL database:
The first thing you generally want to do is make sure your repos are updated, so you can do this by running the following set of commands:
sudo dnf update -ysudo dnf install epel-release -y
Now we will focus on installing the MariaDB SQL server:
dnf install mariadb-serversudo systemctl enable mariadbsudo systemctl start mariadb
Now let's verify that MariaDB is running. You can do so by running the commandsudo systemctl status mariadb
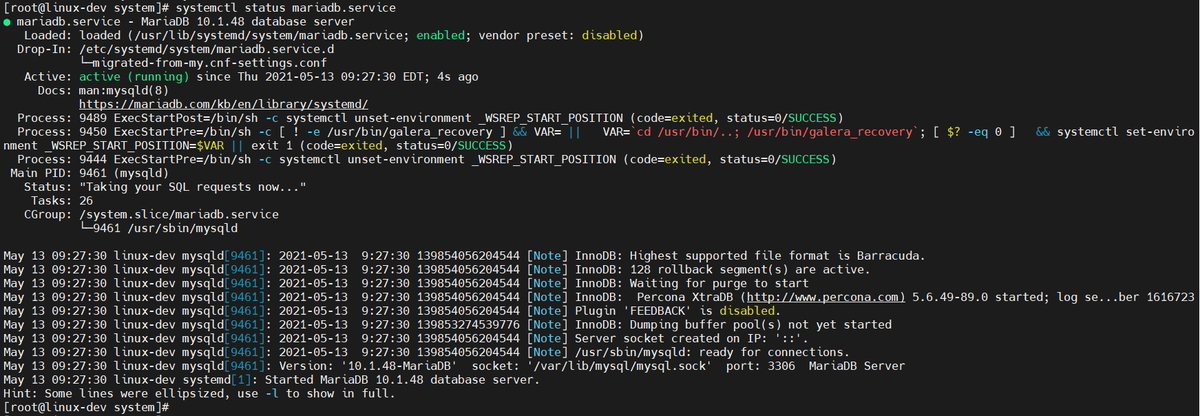
Once we have verified MariaDB status shows as active, we are ready to proceed running the following command:sudo mariadb-secure-installation
Follow through the MariaDB installation guide and be sure to create a user that is NOT root but placed into the sudoers permissions, as using a root user to access a database is considered bad practice.
Setting up the database behind Cloudflared
Pre-Lab Steps:
sudo mkdir -p /etc/yum.repos.d
curl -fsSL https://pkg.cloudflare.com/cloudflared.repo | sudo tee /etc/yum.repos.d/cloudflared.repo1.sudo yum install cloudflared
2.sudo dnf update -y
3.sudo dnf install cloudflared -y
4. cloudflared service install to create a persistent tunnel on the server.
Verify cloudflared was installed correctlycloudflared version
Next we want to link Cloudflare Daemon with our Cloudflare account, and we should do this by running:cloudflared tunnel login
You will be presented with a link you must visit and authenticate with Cloudflare and then select the domain you will be working with to establish zero trust.
2025-04-11T05:46:15Z INF You have successfully logged in.
If you wish to copy your credentials to a server, they have been saved to:
/home/user/.cloudflared/cert.pem
This will generate a confirmation message and certificate.
If you are logged in to your Cloudflare account, you need to visit the Access section found in the sidebar menu.
Once you are within the new Zero trust access portal
Navigate to: Networks > Tunnels
Select Create a Tunnel.
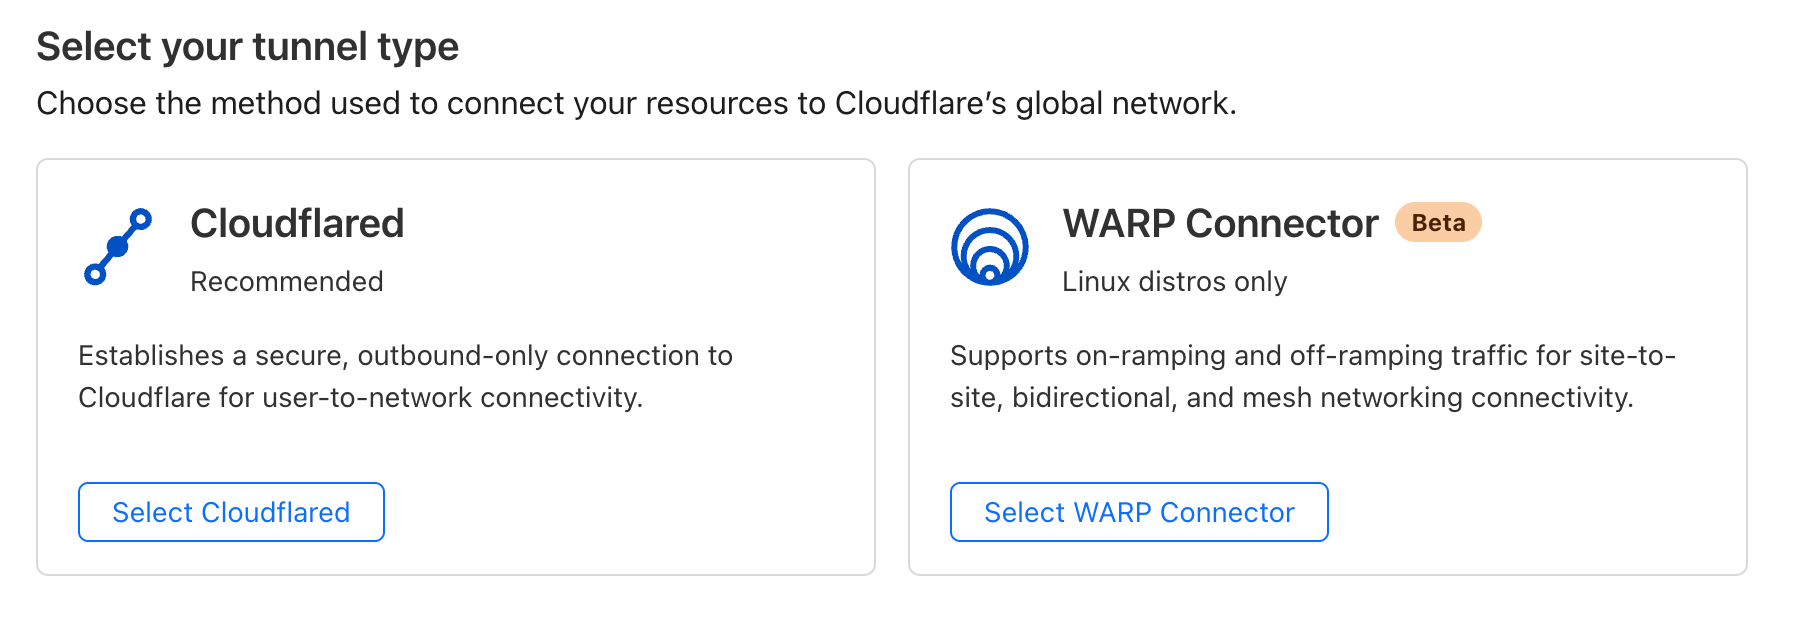
We will work with cloudflared for this lab afterwards; it will ask you to name the tunnel, and you can input any name of your liking.
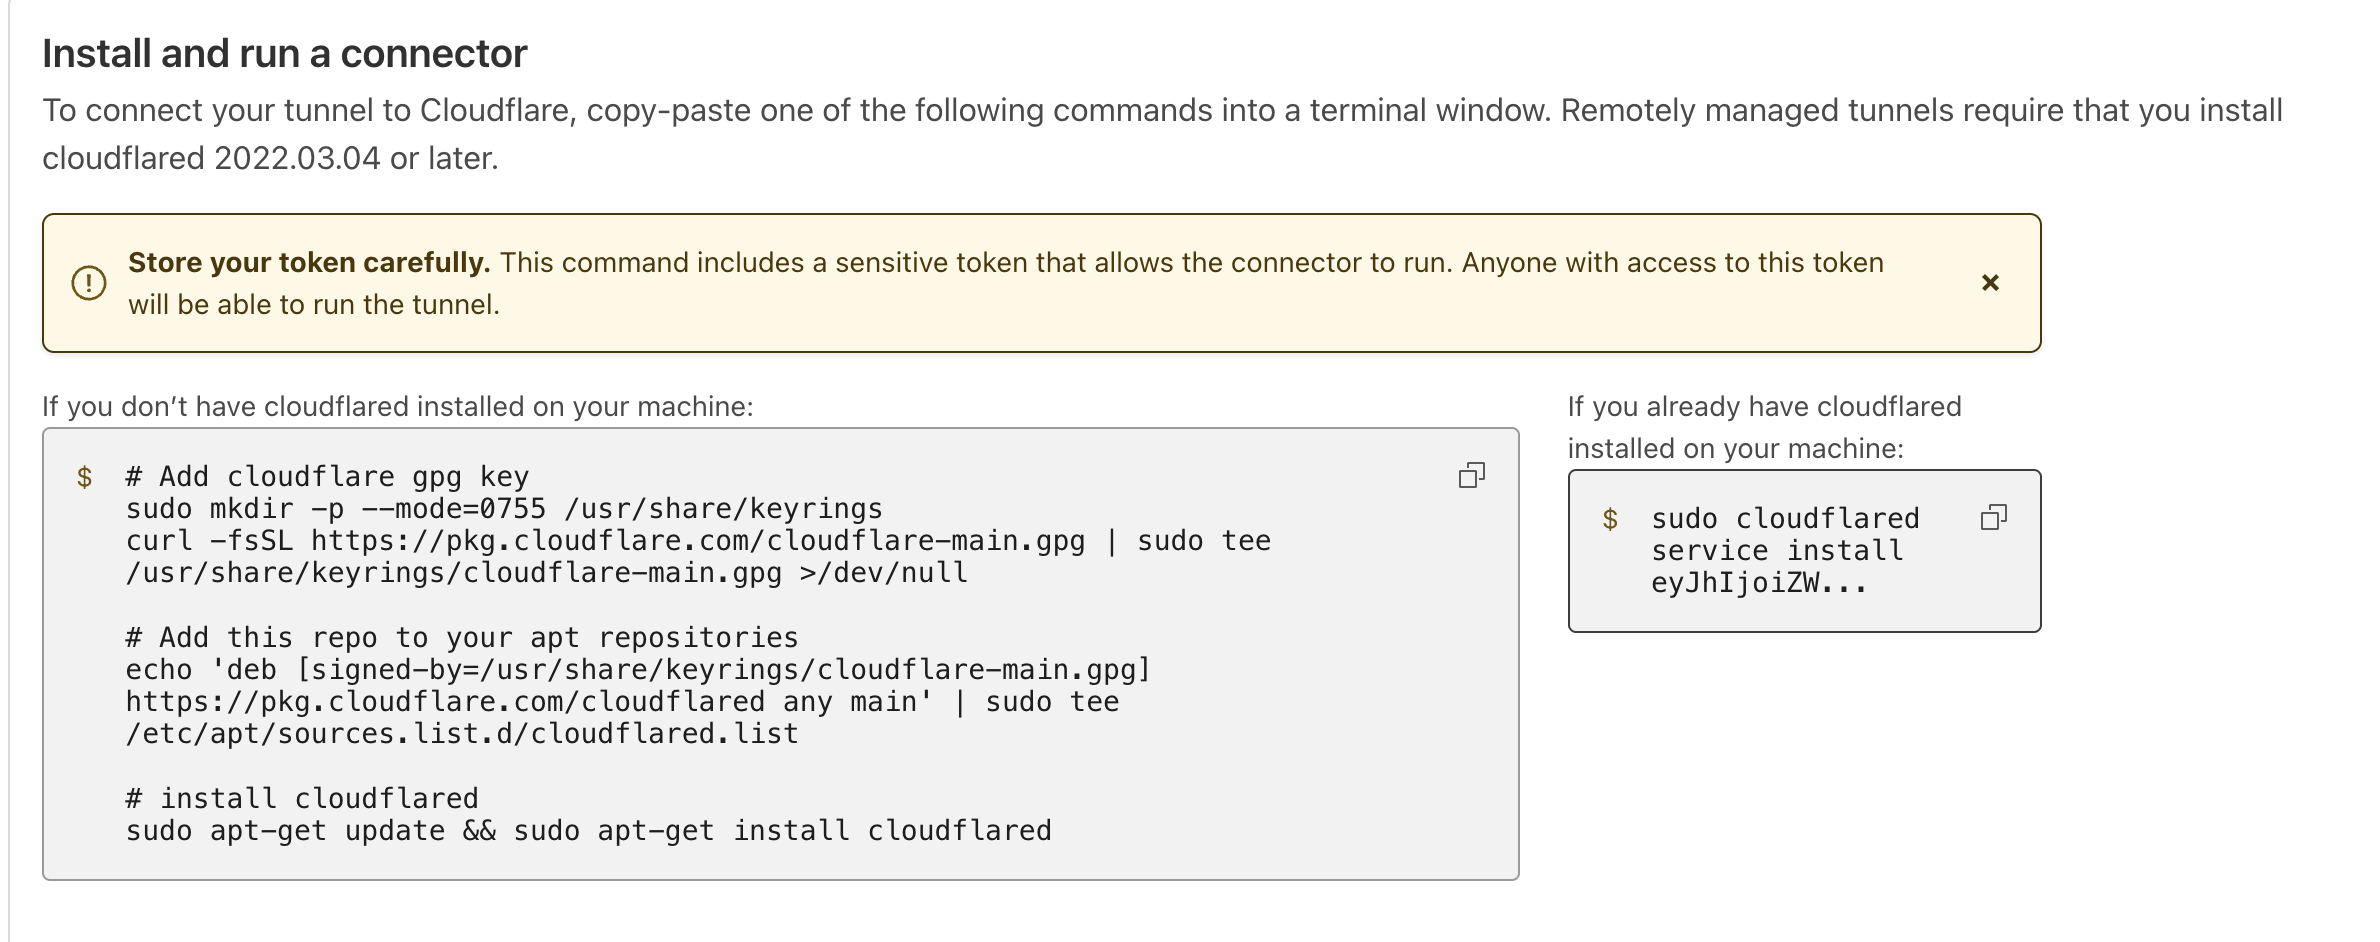
You will be presented with a pre-generated token. This token is unique and specific for the tunnel.
To quickly validate if everything is working as expected, you can do so by runningcloudflared tunnel list
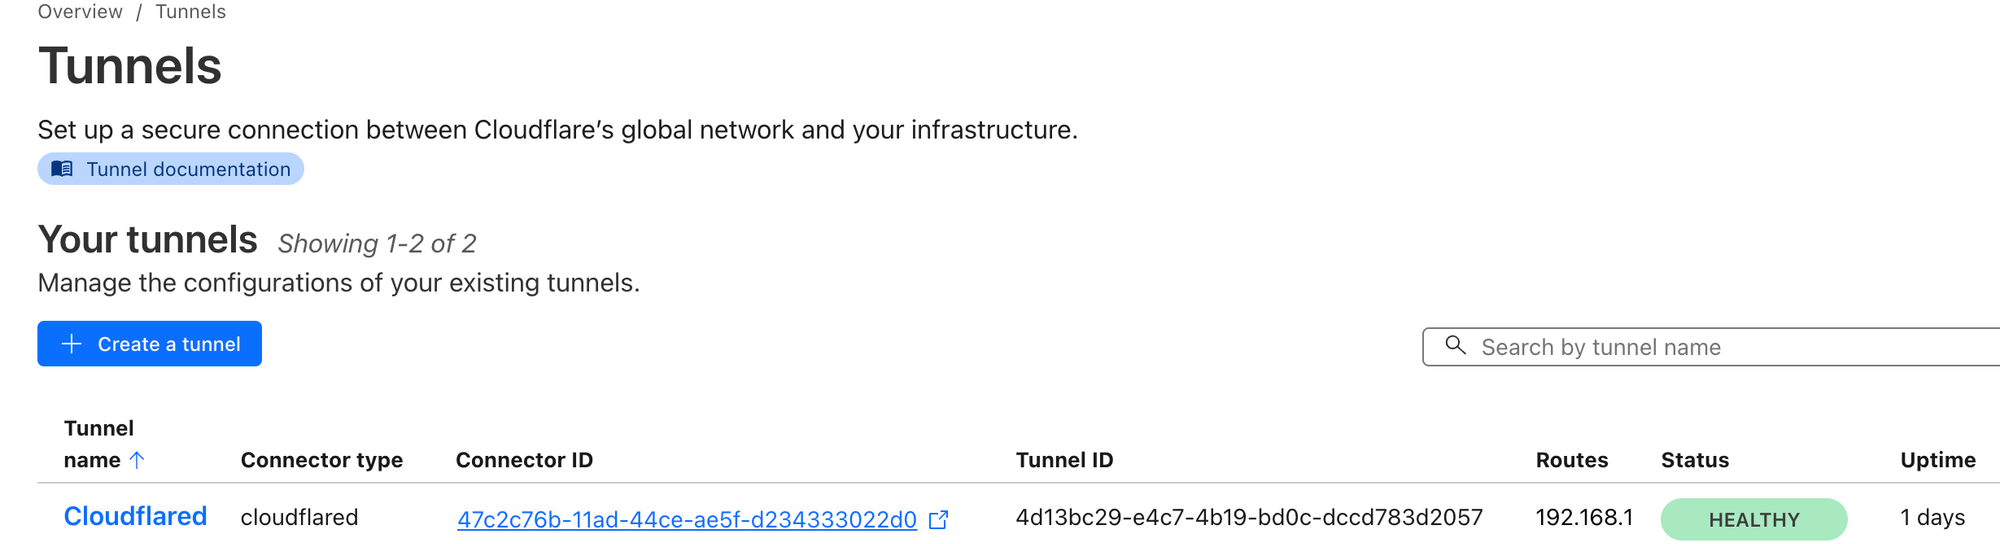
- Once the tunnel is visible, click on the name of the tunnel and click on edit.
- Head over to Public Hostname and add a public hostname.
- In Subdomain, you can select any subdomain of your liking; in my case i used
sqlas the subdomain, and in domain select the one you linked the tunnel to; in my case, it wasdarkcodes.icu. - Service Type: TCP
- URL: your internal hostname where the SQL server is hosted.
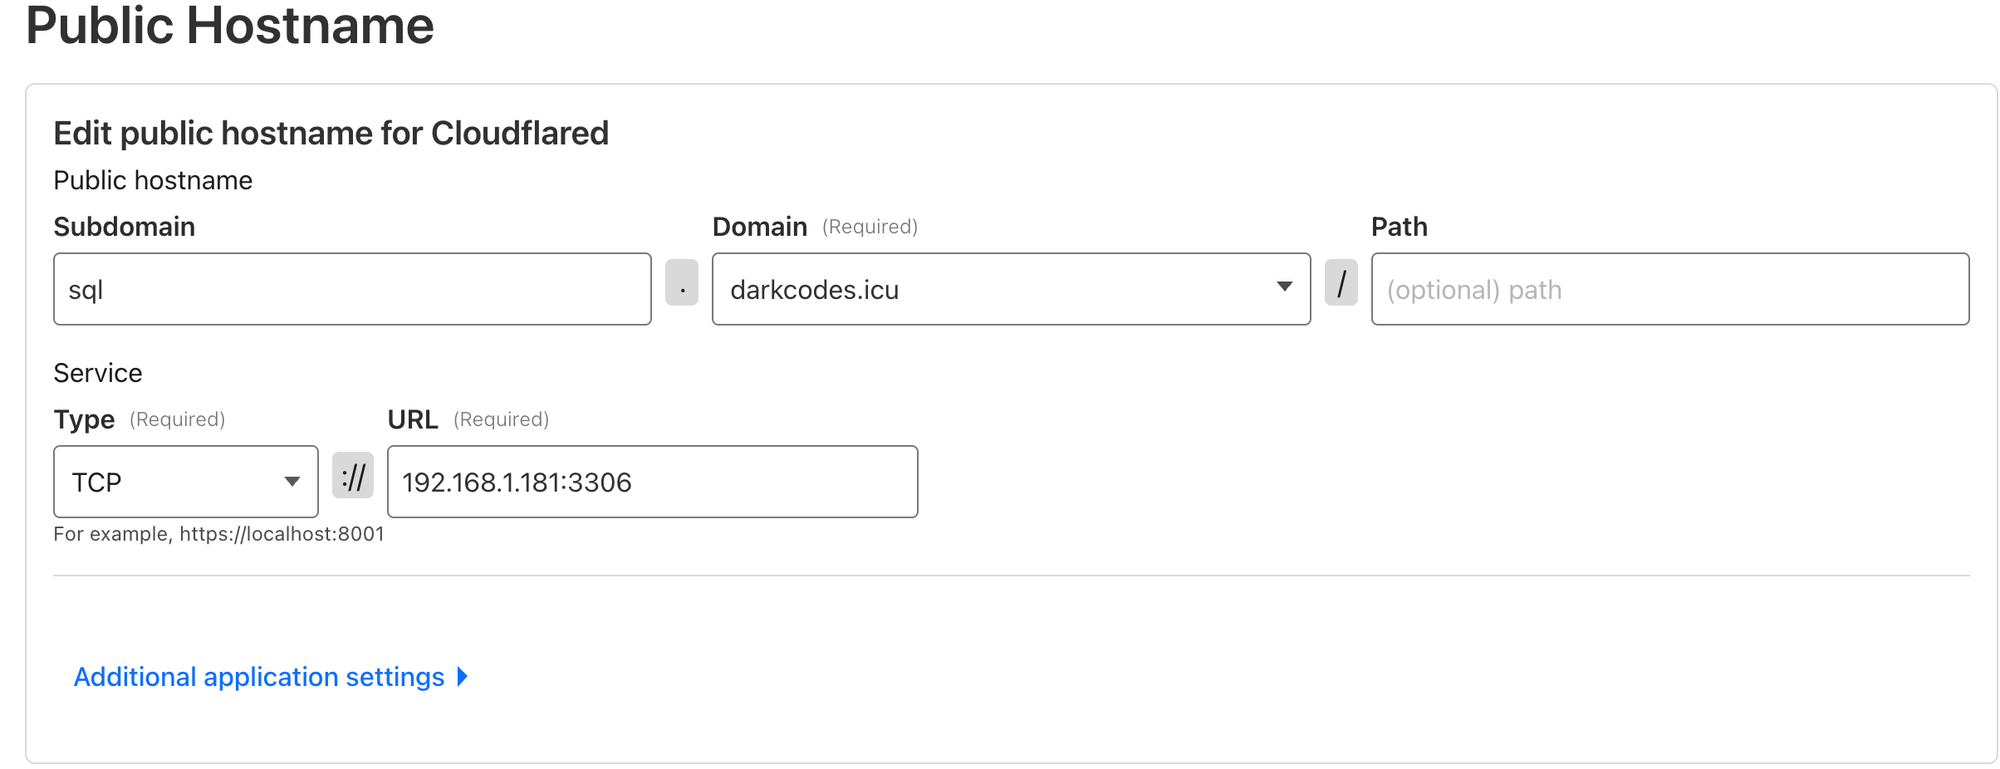
6. Save.
- Head to private the
private network taband input the CIDR range where your SQL server is hosted.

Once the TCP tunnel is established, we will have to create another tunnel from the client side as well. You may do so by executingcloudflared access tcp --hostname subdomain.domain.com --url localhost:3306
What does this do? This will establish a connection to the cloudflare network via a TCP tunnel to the domain you point it to and then bind the tunnel to your localhost on port 3306.
Now the point of zero trust is to not just let anyone with a cloudflared tunnel connect to your network, right? So we must restrict access.
Correct.
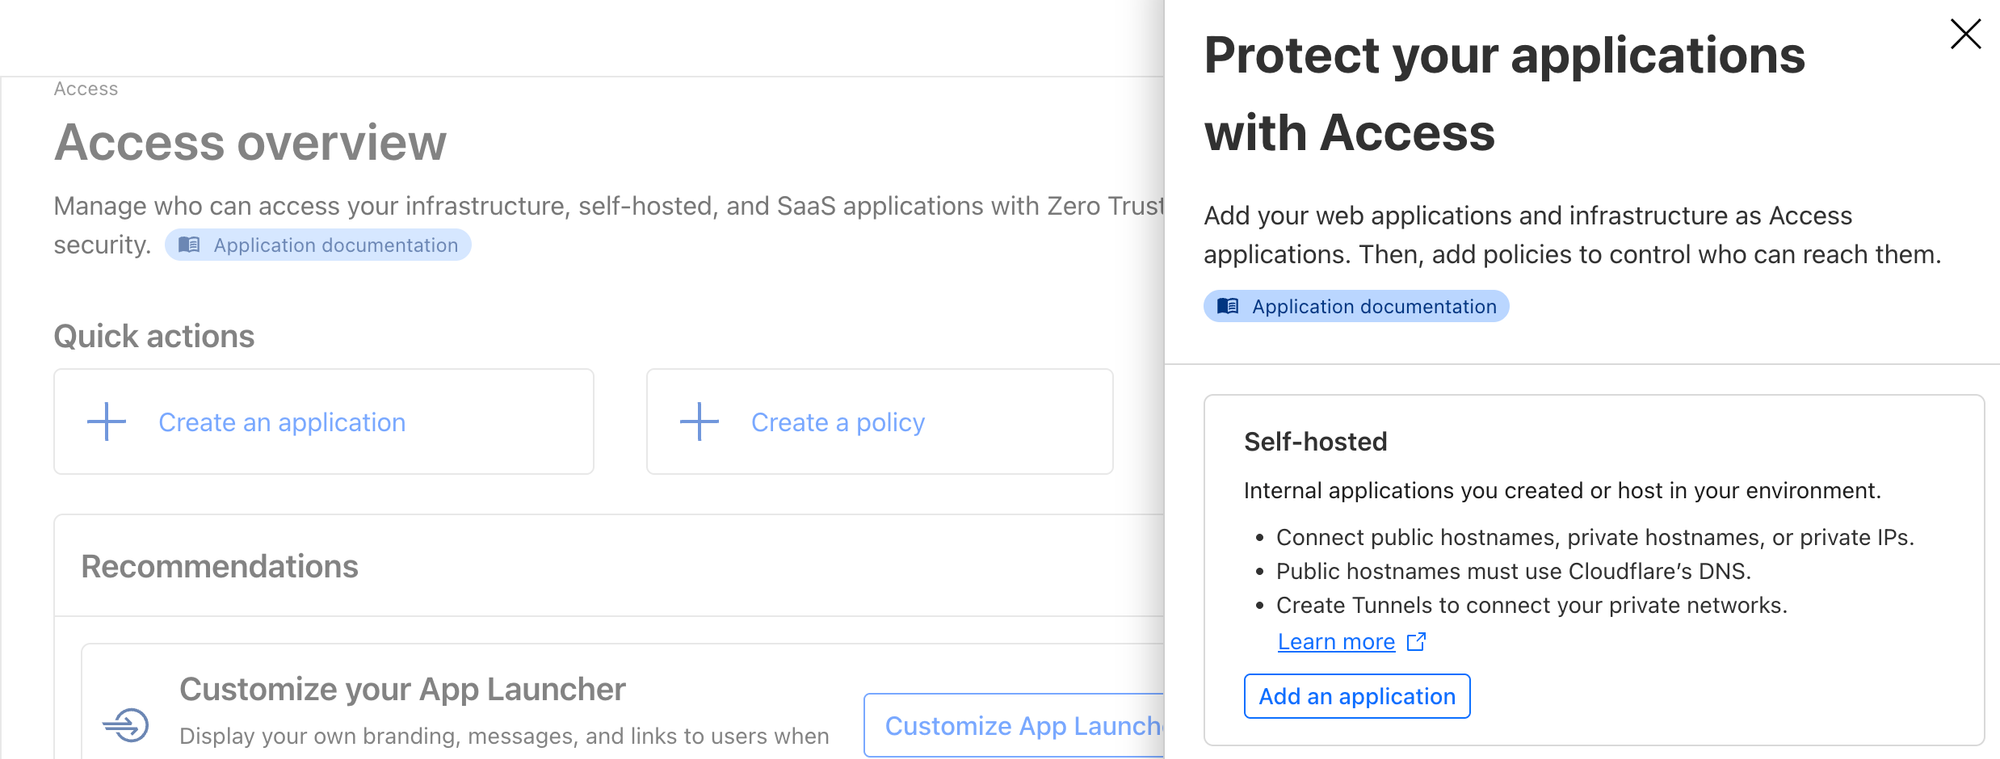
So for this, we will need to create a basic policy and enroll the application to Access, so head over to your sidebar.
1. Select Access > Create new application.
2. Select Add an application.
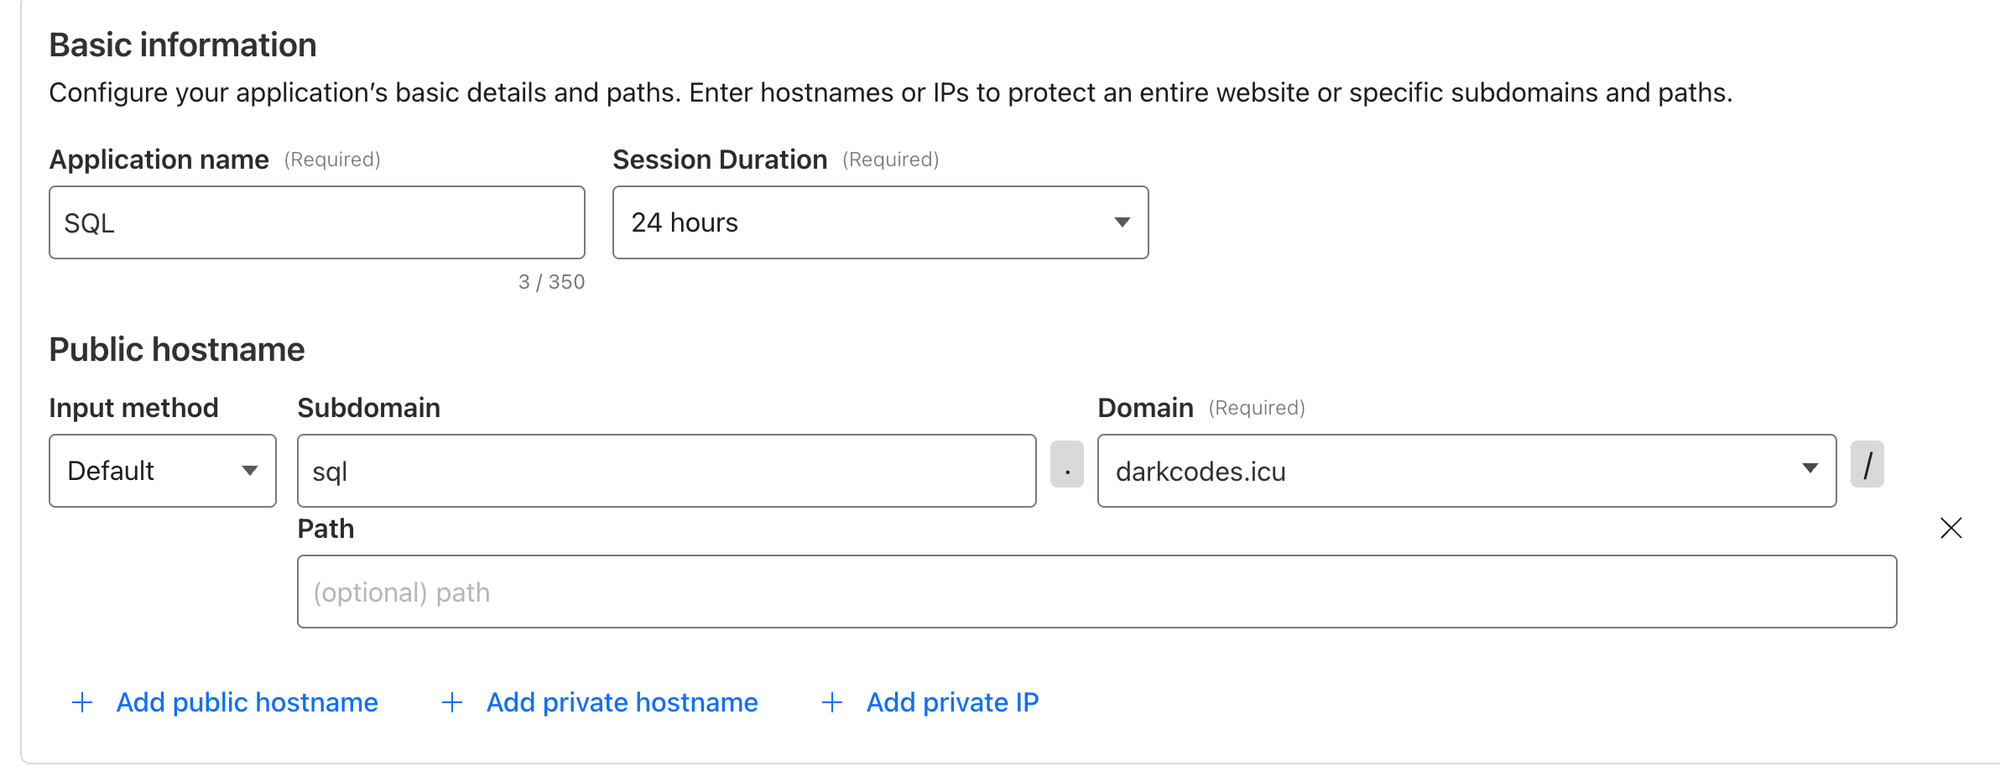
- Add an application name; be sure to fill in the
+ add public hostnameand fill the subdomain you configured in the tunnel earlier.
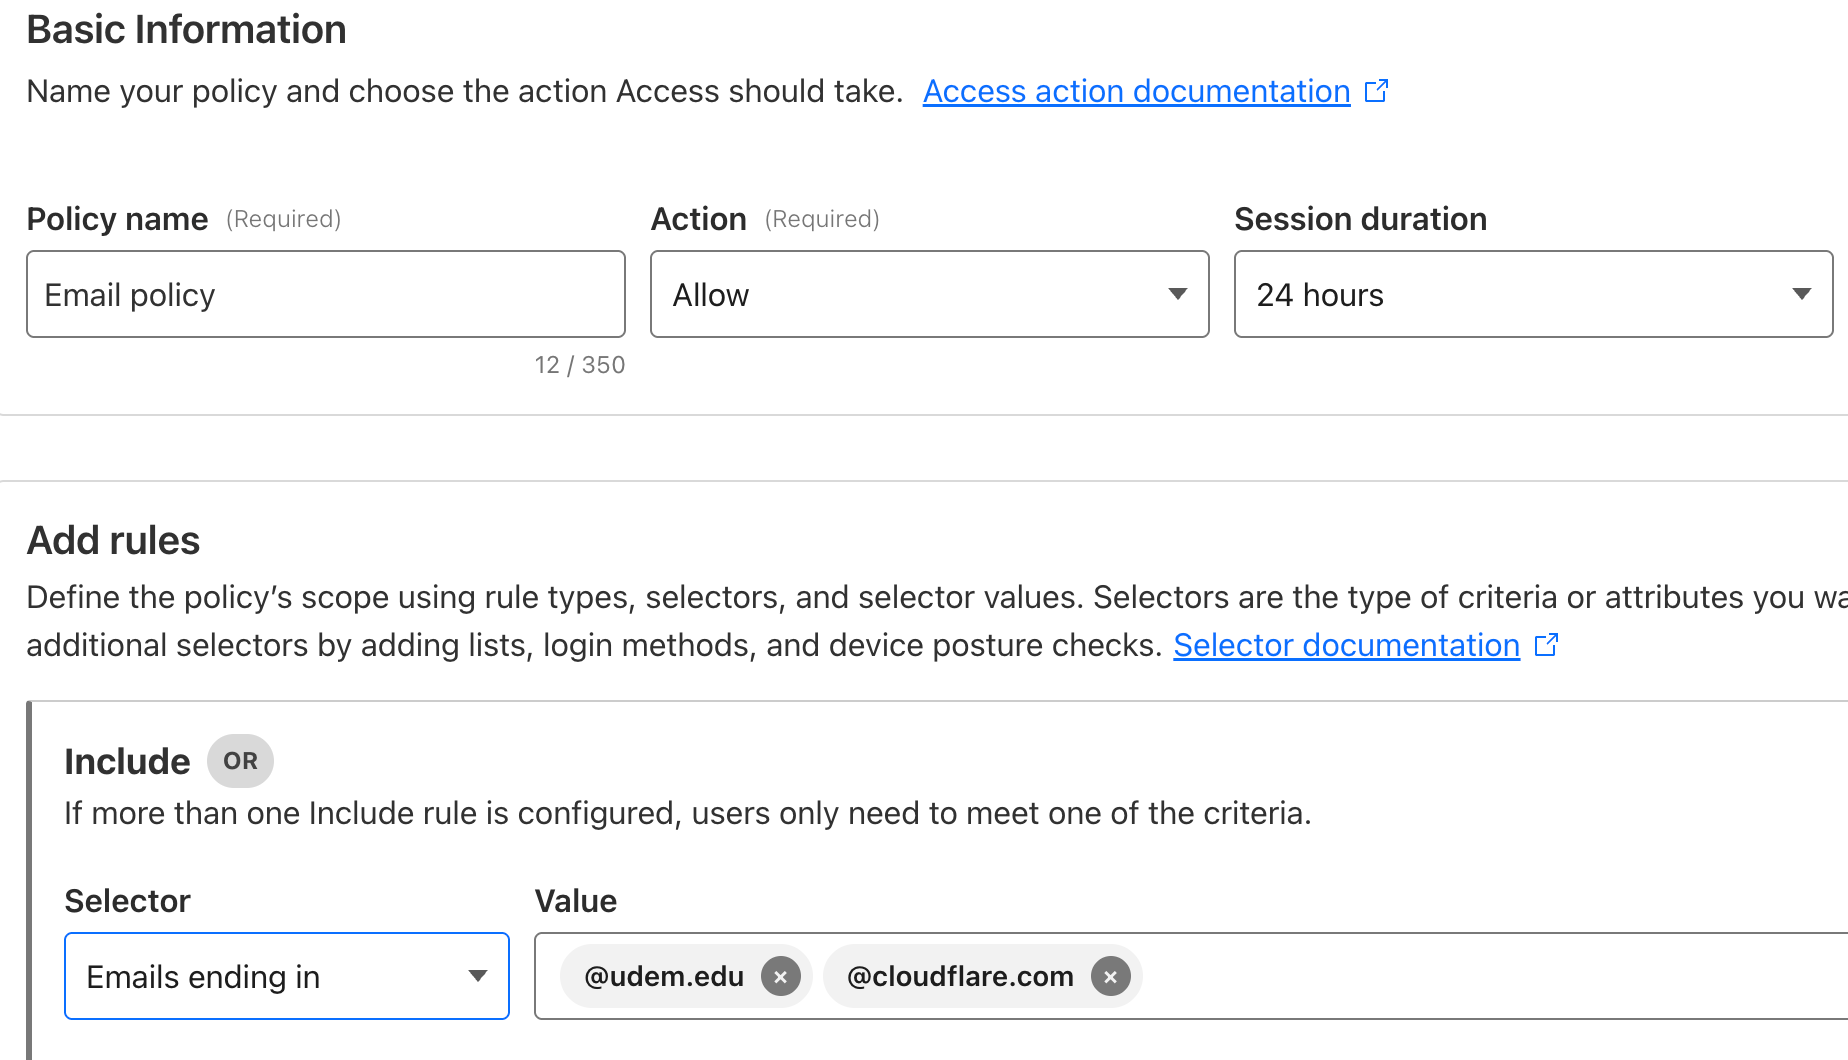
- Create a new access policy and add a set of rules that need to be met for users to access your application, for example:
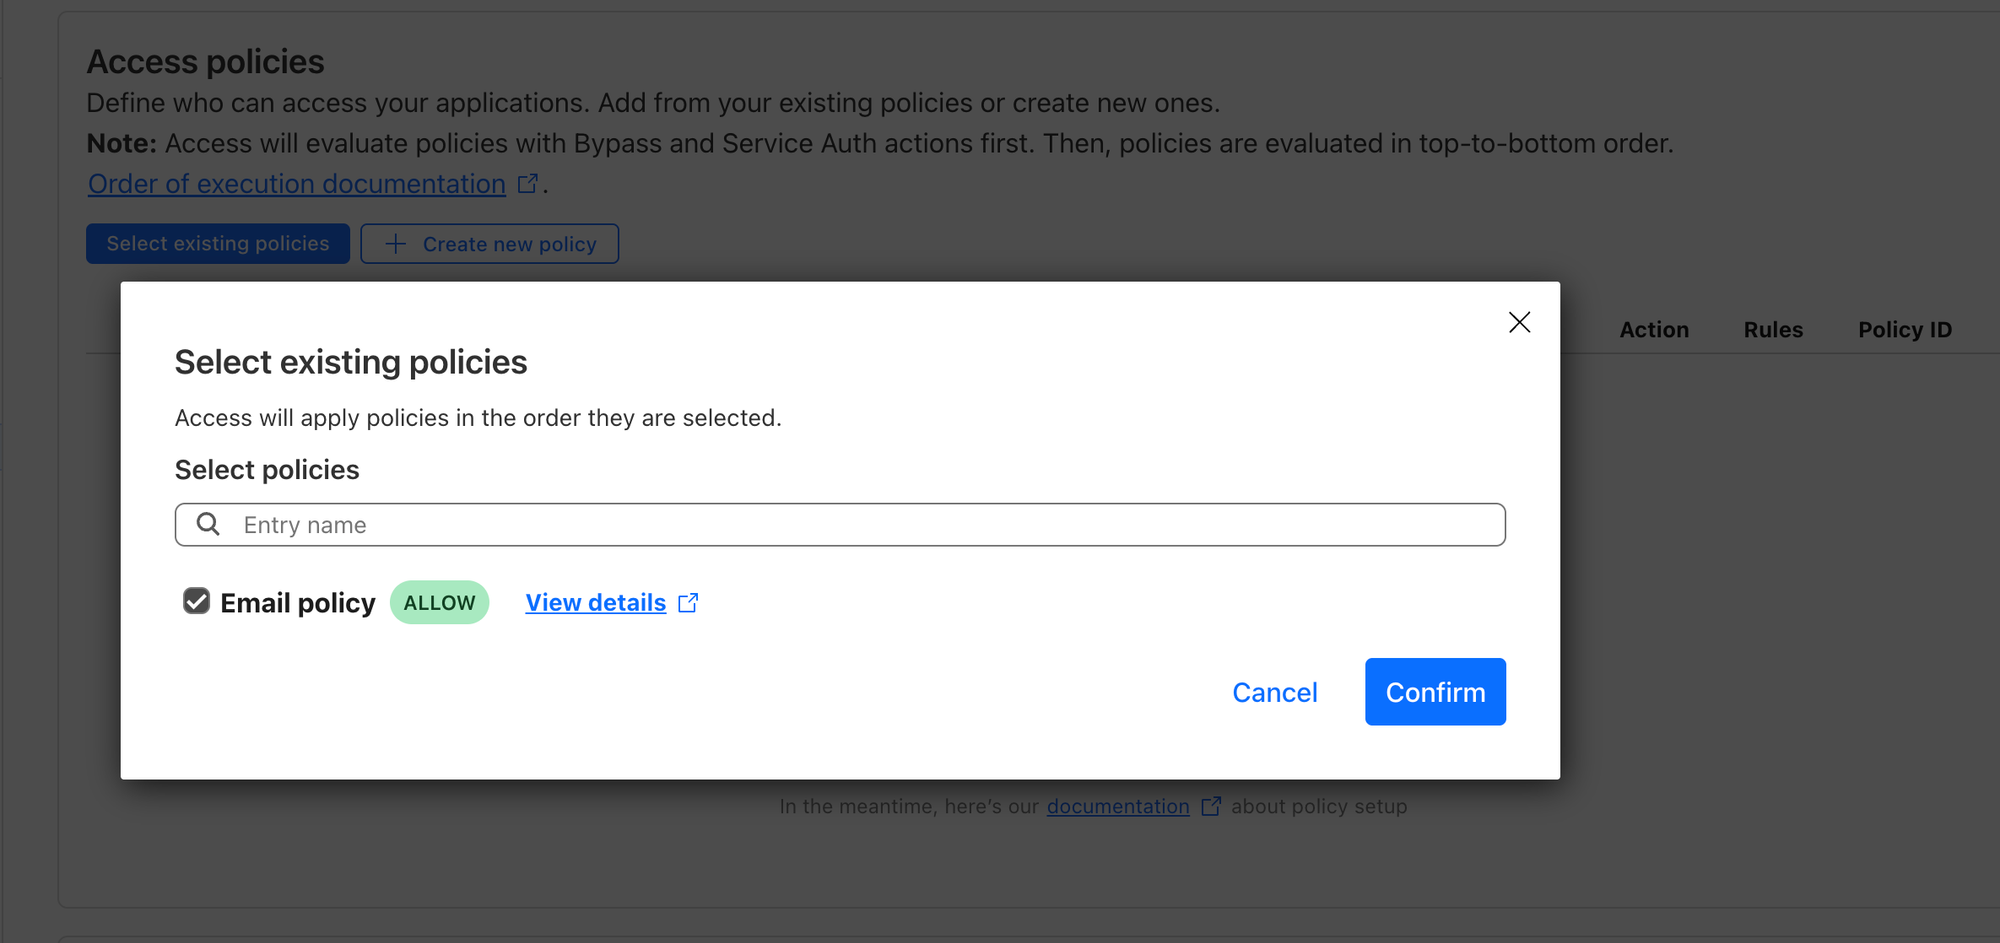
- Once you have created the policy, return to your app enrollment and hit
select existing policies, and choose the one you have just created.
- Hit next and save.
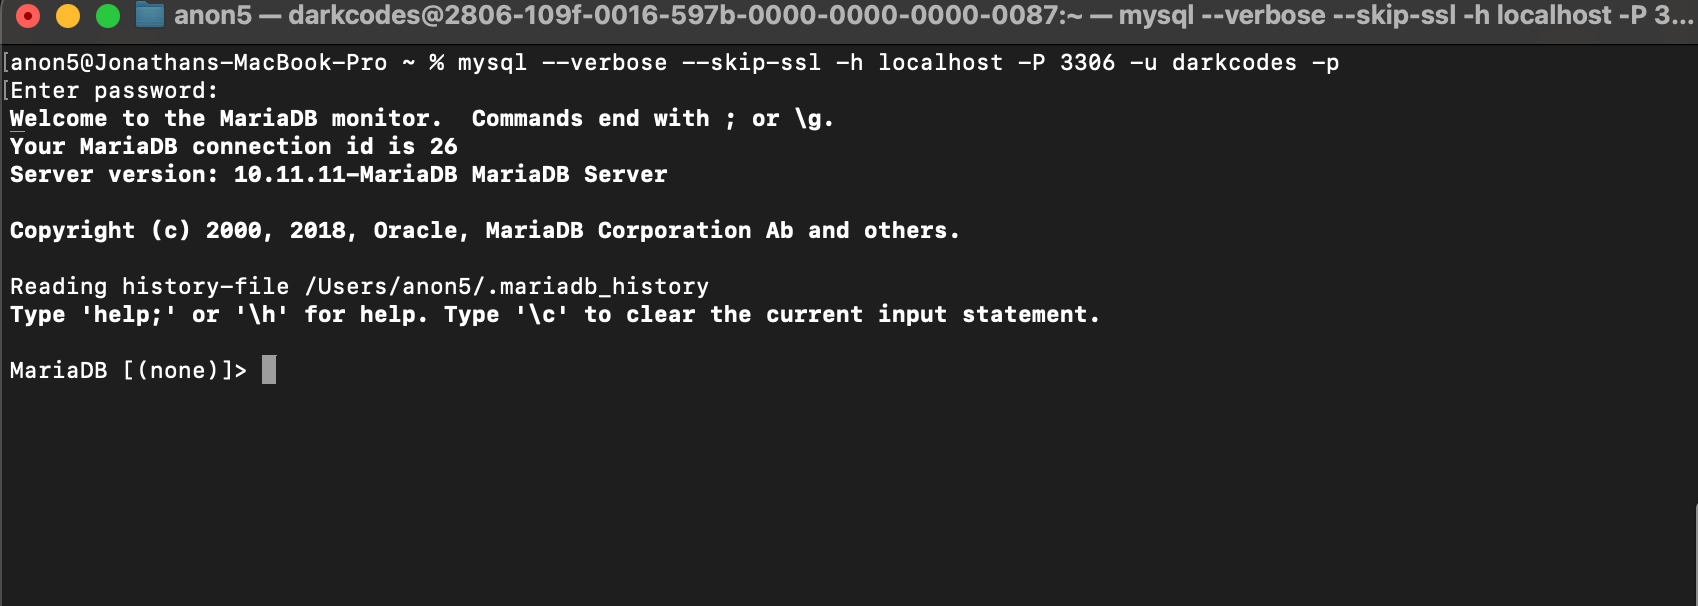
Now let's connect to our tunnel via command line to test it out:mysql --verbose --skip-ssl -h localhost -P 3306 -u darkcodes -p
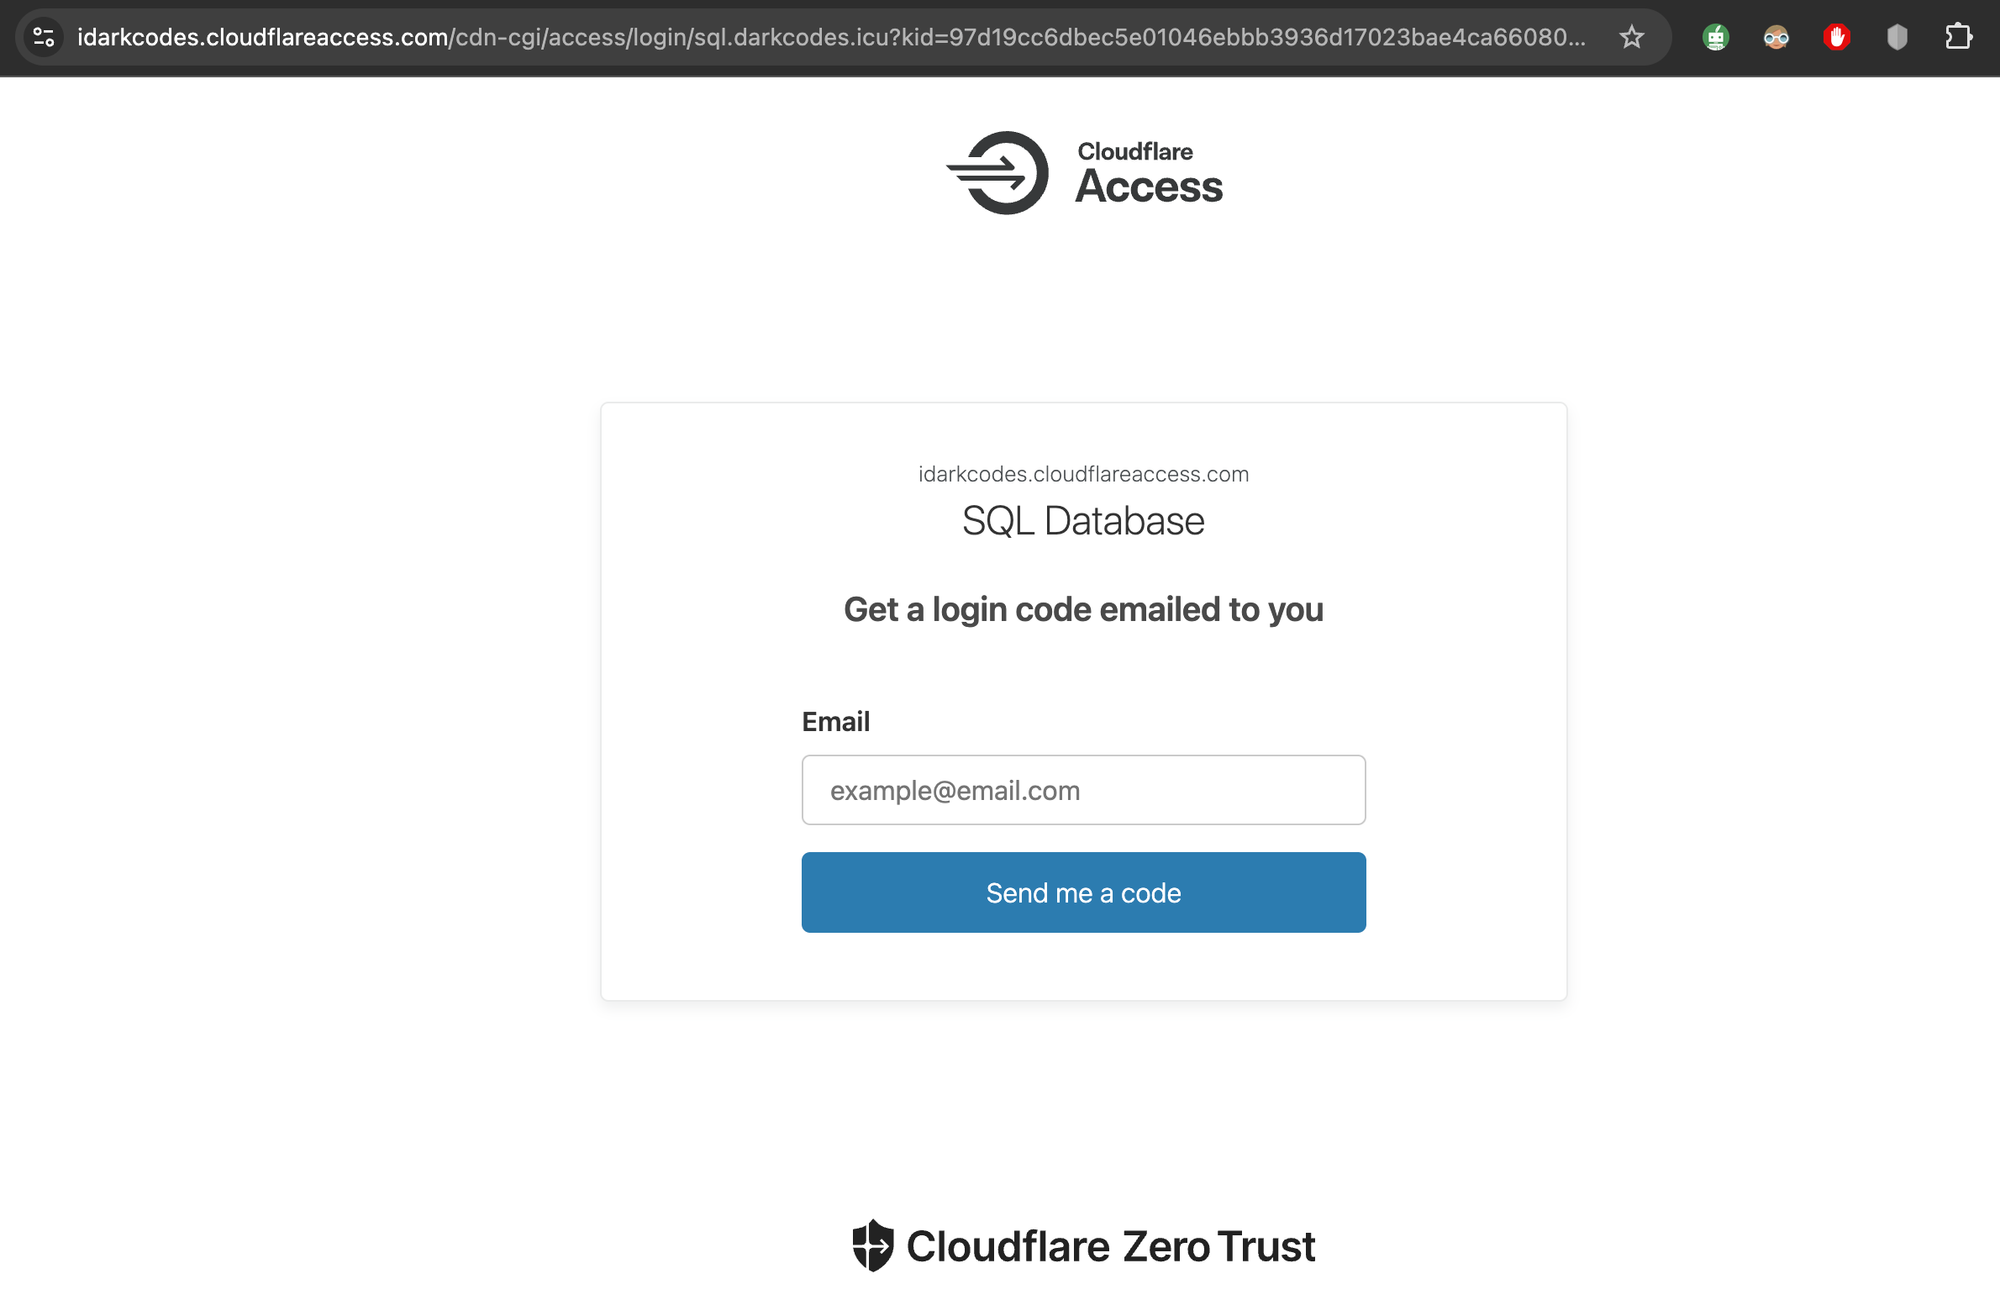
Great, this is an indication that it's properly detecting a captive portal, and if I fill out any email domain that does not match the created policy, it will not send me the authentication code required to utilize the app.
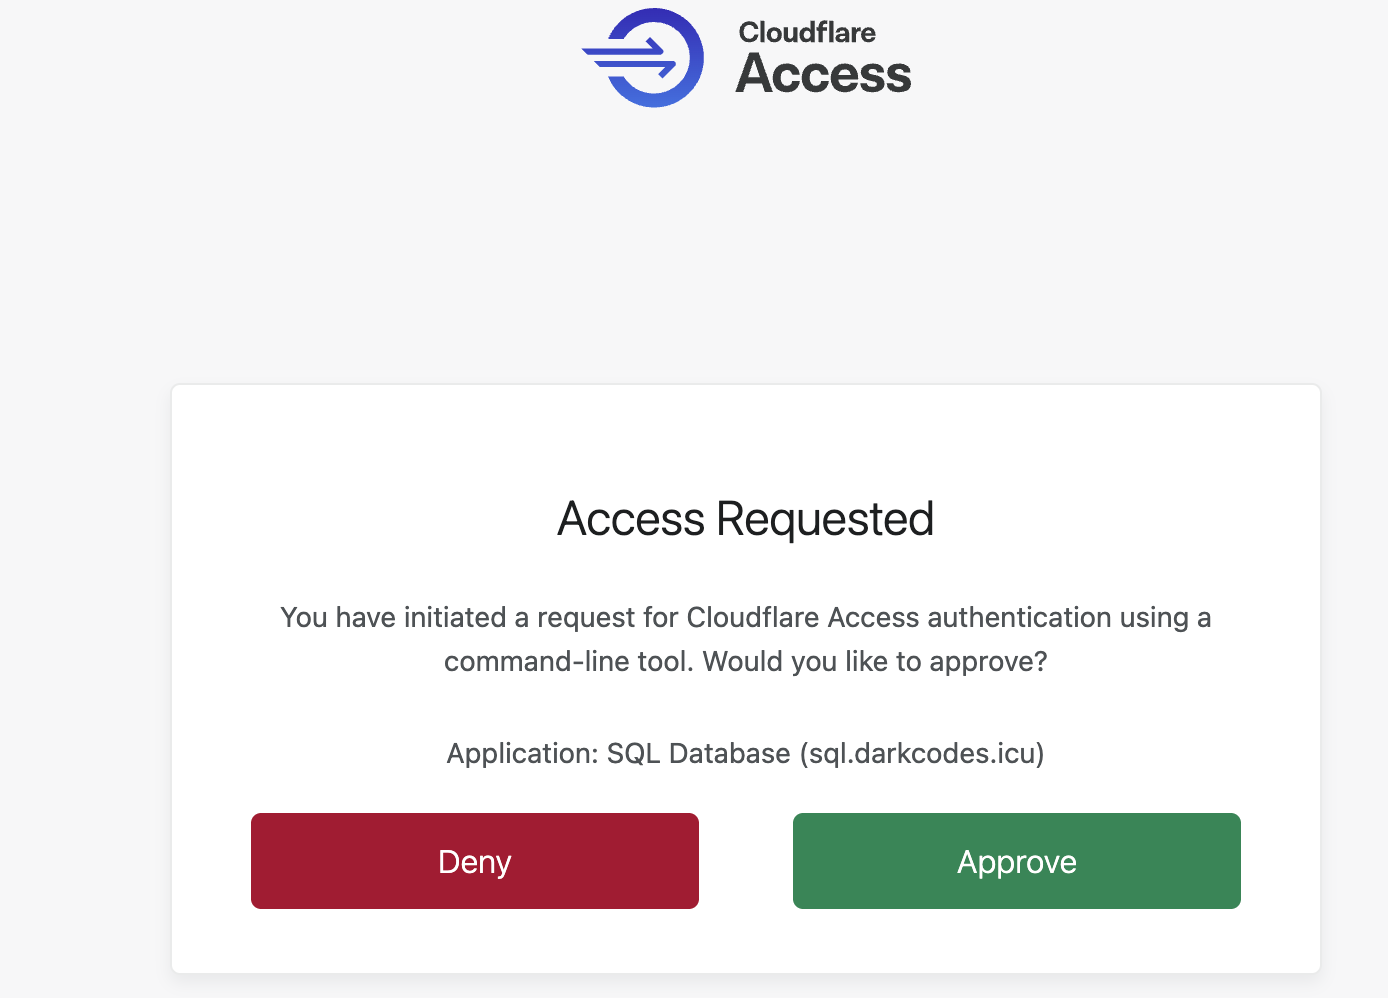
Once we approve the request, we can see that we can connect successfully to the database.
With this we end our lab.